

How To Join Homegroup Windows 10
Z7_3054ICK0KGTE30AQO5O3KA30N0
HP PCs - Creating a Home Wired Local Surface area Network (Windows 10, 8)
This document pertains to HP and Compaq computers with Windows 10 and Windows 8.
Windows allows y'all to connect multiple computers in a dwelling house network. This is a convenient way to share files in the home. This certificate provides instructions for setting upwardly and sharing folders and files on a wired home network.
Setting upwards a local network and file sharing
Use the steps in this section to set up a dwelling house network using standard RJ-45 hardware and cables.
note:When using steps involving Windows, log in using the main administrative account. Ordinarily this is the first account that was created when the computer was get-go turned on.
Before you begin
Before setting upward your local wired network, ostend that y'all take the post-obit hardware and follow these steps:
-
Network interface card (NIC) or an on-the-motherboard network port for each computer. HP and Compaq computers are network set up with NICs installed. Confirm the figurer has a RJ-45 network port on the dorsum.
Effigy : Shape of RJ-45 connector

-
Network hub (or router). A separate network hub may not be necessary if your home is already equipped with RJ-45 jacks in the walls or if your DSL or cable modem provides RJ-45 ports (select models). If you need a network hub, consult with a network specialist at your local computer store to determine a hub that meets your needs.
note:
A crossover cable tin be used to connect two computers without a hub. However, it only allows two computers to connect and is not expandable.
-
Network cables for each computer.
-
Disconnect the Internet. If you have a DSL or cable modem, disconnect it.
-
Disable whatsoever firewall software. Firewall software may interfere with network setup. Yous tin can enable the firewall afterward network setup is consummate.
Footstep 1: Connecting the network hardware and cables
Do the following to gear up upward the wired network hardware and connect the networking cables.
-
Prepare and turn on the ability for the network hub or other networking device. (Follow the instructions provided past the manufacturer).
-
Connect the computers to the networking device. If a crossover cable is used, connect the cable to the RJ45 network ports on each computer.
Effigy : Example of i possible setup configuration

-
Connect the computer ability cords and plow the computers on.
Step 2: Setting upward a HomeGroup
Set up a HomeGroup to share libraries and devices with other computers on the wired network. You tin also stream media between devices.
-
In Windows, search for and open Homegroup.
-
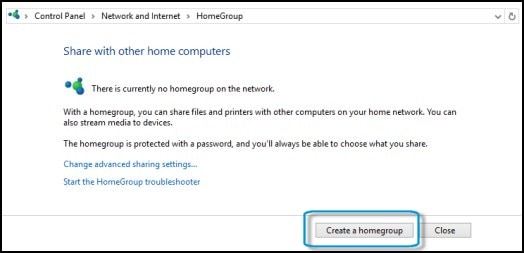
If a homegroup has not been created, click Create a homegroup.
Figure : Clicking Create a homegroup
-
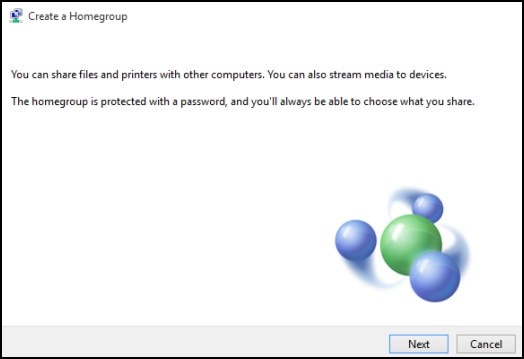
In the Create a Homegroup window, click Next.
Figure : Clicking Next
-
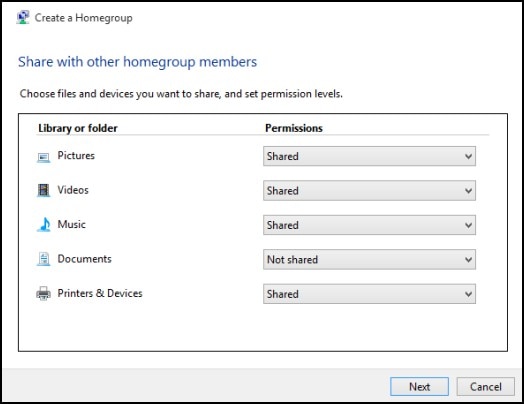
In the Share with other homegroup members window, select Shared in the box side by side to the folders or devices you desire to share, then click Next.
Figure : Permissions for folders and devices
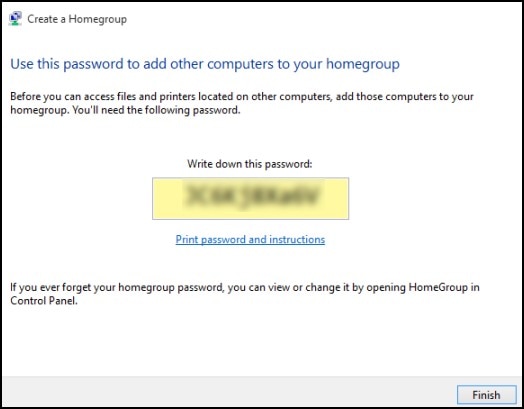
The password displays in the Utilize this password to add other computers to your homegroup window. Click End.
Figure : Utilise this password to add together other computers to your homegroup window
note:
Use the homegroup countersign on each estimator or device in the homegroup.
Stride 3: Sharing drives, folders, and files
To access the computers on your wired network, you must turn on network discovery. Yous can also set up files and printers to exist shared also as set sharing options for specific files or folders.
Turning on network discovery and file and printer sharing
Follow these steps to open advanced sharing settings and turn on network discovery and file and printer sharing on your wired network.
-
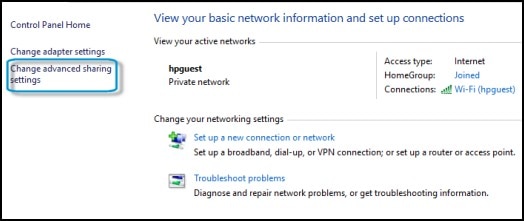
In Windows, search for and open Network and Sharing Eye.
-
Click Change advanced sharing settings.
Figure : Network and Sharing Center
-
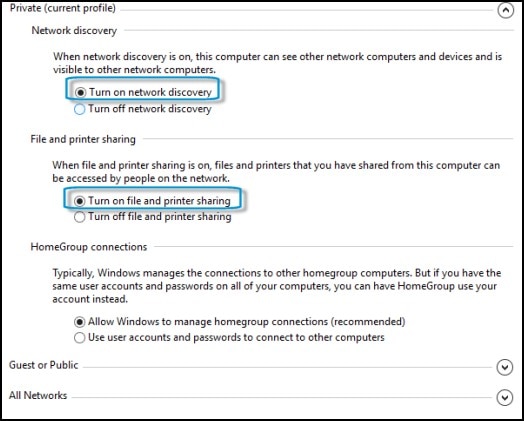
Select both Turn on network discovery and Turn on file and printer sharing.
Figure : Advanced sharing settings
-
Click Salve changes.
Setting sharing options and permissions for specific files or folders
Prepare sharing options of files and non-public folders from the computer whose content y'all want to share. To share not-public folders on your wired network, do the following:
-
In Windows, search for and open up File Explorer.
-
Browse to the folder you want to share.
-
Right-click the folder, select Share with, and then click Homegroup (view), Homegroup (view and edit), or Specific people.
Figure : Share with

-
If you choose Specific people, the File Sharing window is displayed.
-
Click the down arrow and select the user you desire to share with. If the user is not listed, type the user name and then click Add.
Figure : File Sharing window

-
Click an pointer under Permission Level to set the permission level for each user or group.
-
Click Share.
Step four: Testing the wired network
Check the network by browsing through the shared folders on each computer on the network. To verify the setup of your wired network and browse the shared folders, follow these steps:
-
In Windows, search for and open Network.
-
Double-click the proper name of the computer or device to access.
-
If prompted, enter the user name and password to connect to the computer or device.
If the computer is able to read and access files from a remote computer, the remote estimator or device is set upward correctly. Browse to every available figurer or device from each computer on the network. If there are any bug, go back through these steps and verify that the settings are correct.
When all computers are able to network to each other computer on the network, continue to the next step.
Step five: Enabling Net access and firewall
Once you accept verified that your home network is capable of transferring files, connect and enable Internet connections for computers with Internet access.
caution:Brand sure that each computer with Net access is well protected from security threats. At the minimum, each computer should have its Cyberspace connection protected with a firewall and Windows should be updated with the latest critical updates from Microsoft Windows Update. If malicious activeness comes though one calculator, the activeness can chop-chop spread through the entire network.
Source: https://support.hp.com/id-en/document/c03408295
Posted by: kimtudith.blogspot.com
0 Response to "How To Join Homegroup Windows 10"
Post a Comment